|
|
 |
|
|
GWR Route: Hatton to Bearley and Alcester Branch
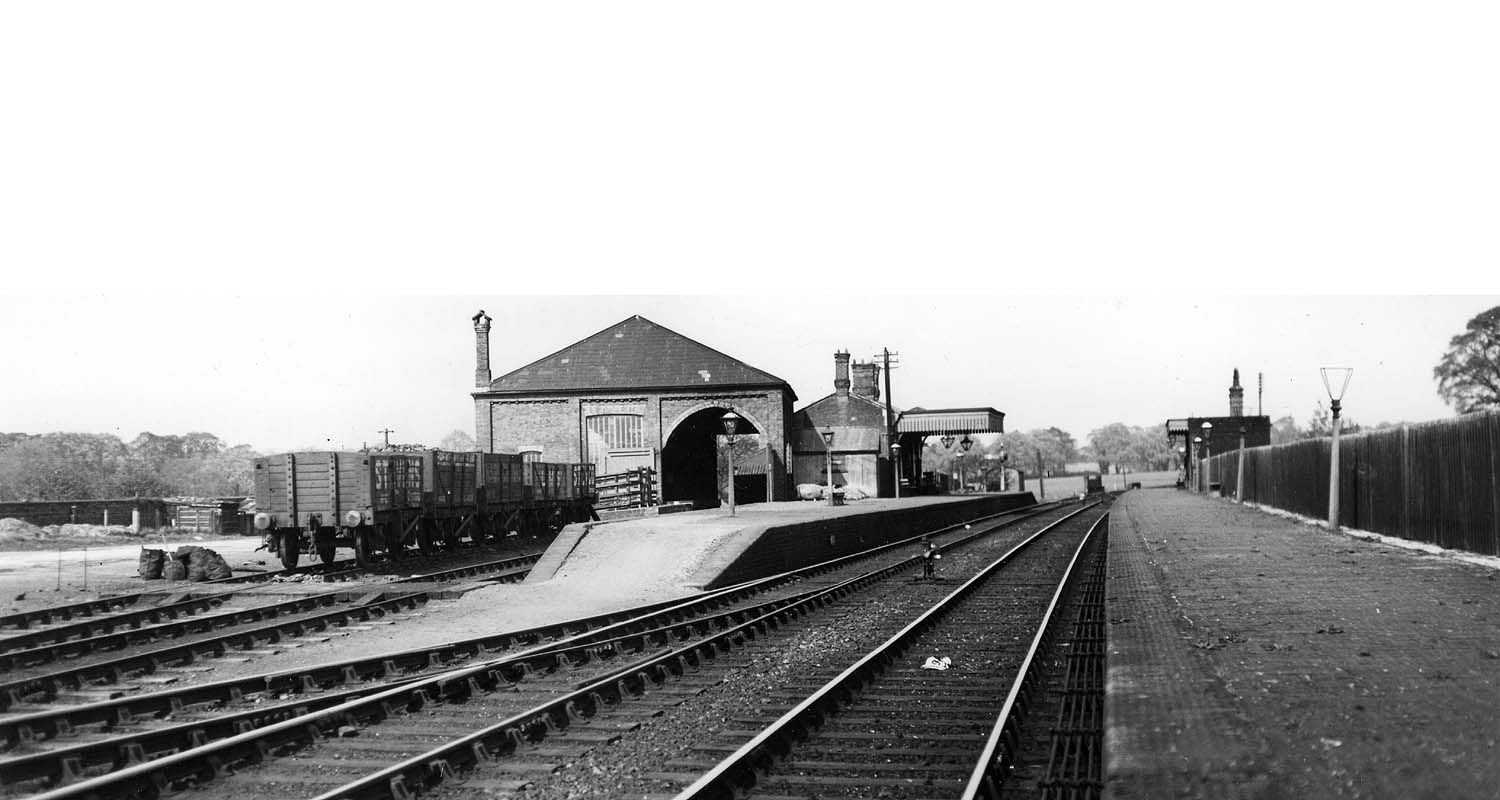
Bearley Station: gwrb442
Looking towards Hatton from the Stratford end of the down
platform with the main station goods and passenger facilities on the left.
Bearley Station's signal box is behind the camera and on the right. The control
rods running from the signal box to the far end of the station can be seen next
to the rails. In the six foot, the space between the two sets of rails, a small
ground signal can be seen. The pointwork to the sidings and goods shed are
known as 'trailing, in that to enter the sidings the train had to reverse.
Facing pointwork, whereby the train travelled forward to a new line, were
considered to be potentially dangerous as it was possible for the leading
wheels to split the rails where they met, particular at speed. Trailing points
would be forced together by the forward momentum thereby minimising the risk of
derailment.
Robert Ferris
 back back
|
|
|