|
|
 |
|
|
London North Western
Railway:
Midland
Railway:
Stratford
Midland Junction Railway
|
|
LMS Route: Nuneaton to Coventry
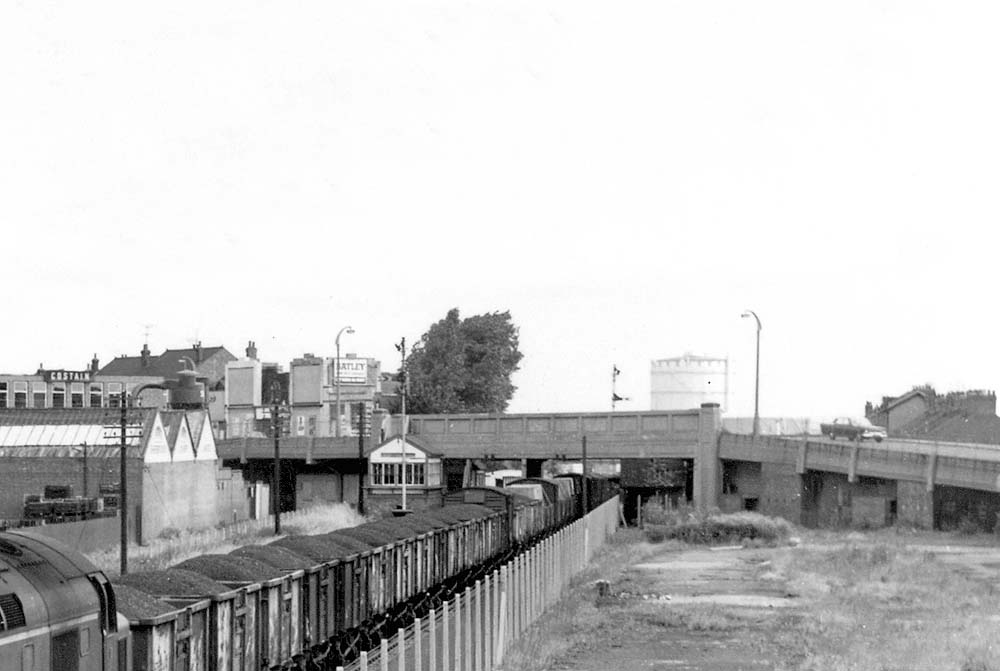
Foleshill Station: lnwrf137a
Close up of image 'lnwrf137' showing Foleshill Station
Signal Box which was situated beneath Lockhurst Lane overbridge and on the down
line. The gated concrete pedestrian staircase from Lockhurst Lane to the track
side was provided to allow signalmen to gain access to the signal box without
needing to walk the long route down the ramped bridge and then back to the
station. In the distance the shape of Foleshill gas works giant gasometer can
be seen.
 back back
|
|