|
|
London North Western
Railway:
Midland
Railway:
Stratford
Midland Junction Railway
|
|
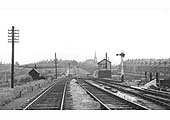
Washwood Heath Sidings
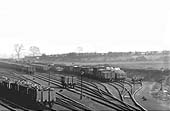
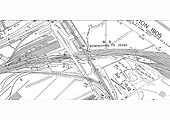
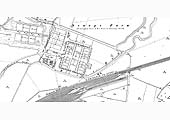
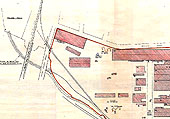
Washwood Heath Sidings were to be found between Bromford
Bridge station and Saltley station on the Birmingham to Derby line. The sidings
were located at Washwood Heath because the site offered a number of
considerable advantages to the Midland Railway who required a facility near
Birmingham on the main Derby to Bristol line. It was very near to the centre of
Birmingham, it was a level and greenfield site (in today's parlance) and was
also close to LNWR and GWR routes to facilitate easy exchanges of traffic to
other major conurbations in the country. The layout to the Sidings were complex
and therefore I have provided below a description of the location of the
different types of sidings and their respective signal boxes.
Washwood Heath Sidings was first opened by the Midland
Railway to serve their needs in the Birmingham area in October 1877. Initially
the MR provided the sidings on the down Derby to Birmingham line because the
traffic was predominantly inward bound to the immediate area. With the ever
increasing volume of traffic, the MR enlarged the down sidings fourteen years
later in 1891. Further expansion of traffic, outward bound from Birmingham and
the immediate locality, caused the MR to establish sidings on the up Birmingham
to Derby line in January 1918. The growth of light engineering saw the region
escape the worse excesses of the 1930s slump and further traffic was still
being generated. This increase required the up sidings to be enlarged in 1930
followed by further enlargement to the down sidings in 1935.
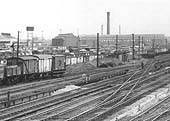
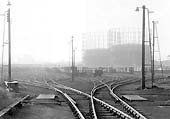
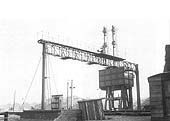
Washwood Heath was in fact a marshalling yard and not a
goods yard. The difference between the two was that the former was a hub with
traffic arriving from many locations to be marshalled in to trains for onward
traffic to other locations whilst a goods yard generally received traffic which
was then unloaded for delivery to the local area. Coal in particular is a good
example of the type of traffic that would originate at one location and would
be moved by train to many different locations. From the coal mines they would
be moved to the nearest set of sorting sidings such as Washwood Heath where
they would be formed into trains or in railway parlance 'trips', either for a
specific location or to another sorting siding elsewhere in the country for
further sorting. Washwood Heath had a number of sidings where wagons would be
marshalled in to trains for one specific location. Sidings dedicated for Lawley
Street, Camp Hill, Cheltenham, Lifford, Worcester, Exchange Sidings are just a
few of the names written on one of the many plans accompanying the article by
Bob Essery in Midland Record Issue 26 Page 21.
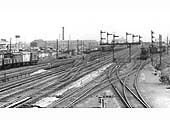
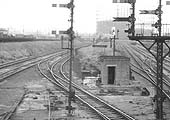
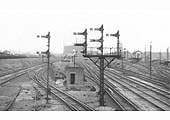
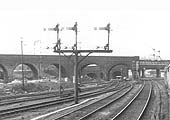
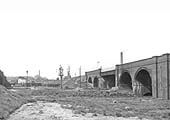
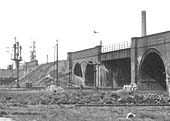
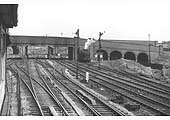
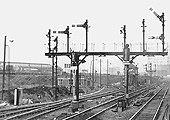
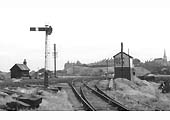
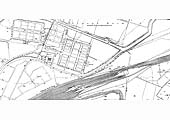
Starting from Bromford Bridge, the Sidings were initially
controlled by two signal boxes at Bromford Bridge, Bromford Bridge South Signal
Box and Bromford Bridge North Signal Box both located on the up line although
both were replaced by a signal box located on Bromford Bridge station's down
platform. Between Bromford Bridge and the next signal box, Washwood Heath
Junction Signal Box, on the down line was Junction sidings with five roads.
Opposite these sidings off the up line were the 'Dugout Sidings with five
roads, the 'Upsidings' with twenty-five roads and the 'Carriage and Wagons
Sidings' with tow roads, the latter being accessed by reversing from the exit
roads of the Upsidings.
For a comprehensive review of Washwood Heath Sidings
complete with detailed maps and signal diagrams, readers are directed to
Midland Record No 26, written and edited by Bob Essery and published by
Wild Swan, ISBN 978-1-905184-39-2. In addition, Bob has written other articles
on freight traffic in the Birmingham area in Midland Record, in
editions, Nos 3, 5, 6, 8, 10, 16, 17 and 20.
Accident at Washwood Heath on 29th January 1912
The report on the collision between two passenger trains
at Washwood Heath in 1912. This document was published on 10th February 1912 by
Board of Trade. It was written by Major J. W. Pringle.
"In this case, the 6.27 a.m. train from Walsall to
Birmingham was standing at the down home signal for Washwood Heath No. 1
signal-box, when a following train, the 6.15 am. express from Derby to Bristol,
struck it. The guard of the first train was injured, and twenty one passengers
are reported t6 have complained of the effects of cuts and shock."
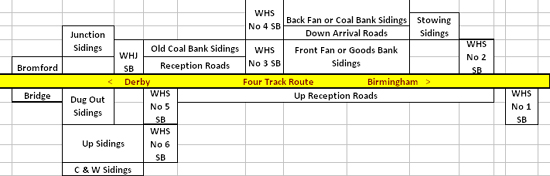
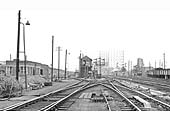
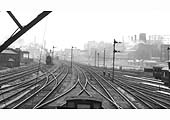
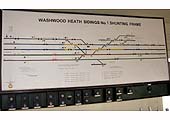
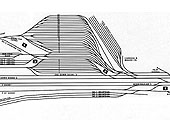
Schematic of the layout of Washwood Heath Sidings
The above diagram provides a understanding of the layout
of Washwood Heath Marshalling yard and its different sidings with the location
of the signal boxes. Whilst some attempt has been made to indicate the size of
each section this has been severely restricted by the need to make it legible
hence the disparity of size between the signal boxes and the rest of the
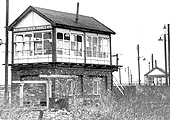
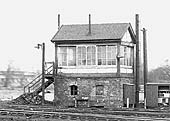
sidings. The symbols for the signal boxes are as follows:
WHJ SB is Washwood
Heath Junction Signal Box
WHS Nos 1 to 5 are Washwood Heath Sidings Signal
Boxes Nos 1 to 5
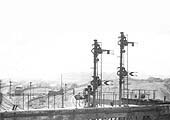
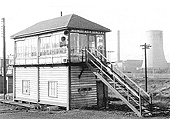
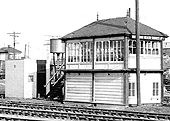
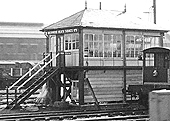
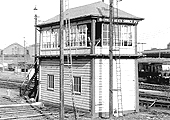
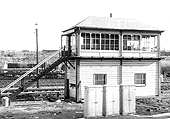
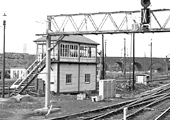
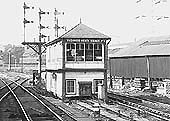
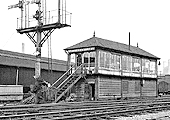
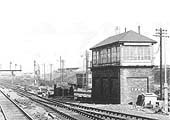
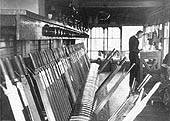
Signal Boxes
Transfer connection from the L&NWR to the Midland
Railway
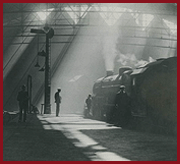
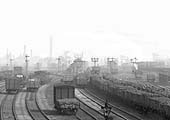
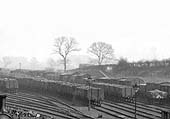
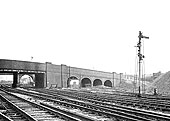
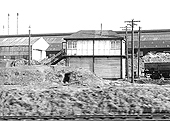
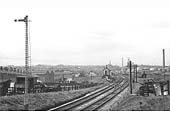
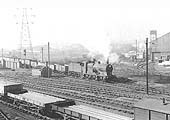
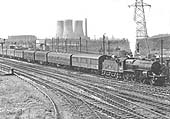
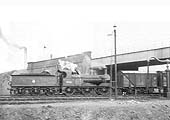
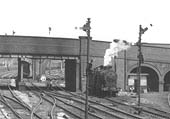
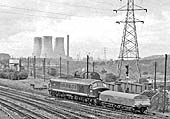
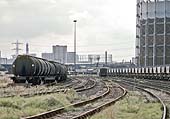
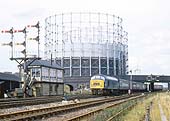
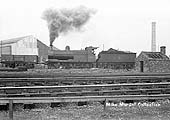
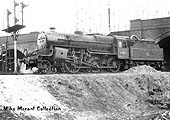
Trains seen at or near to Washwood Heath Sidings
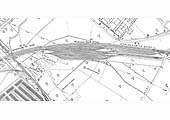
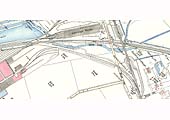
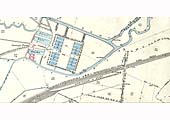
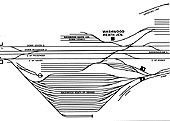
Ordnance Survey Maps and Schematic Drawings
|